

How to Make: Ginger Bug + Ginger Ale
I've been playing with making ginger ale with a ginger bug culture and here are the results!

Nothing like a good ol’ hyper fixation on fermented beverages… except I’ve been hyper fixated on probiotic natural fizzy dranks for a minute now. I used to have a scoby—it died while I was going through motherhood for the first time in 2020. Ever since, I’ve been missing the fizzy probiotic goodness of homebrewed kombucha. I read about ginger bugs before and since I’ve been waiting to get a scoby from a friend locally - finding out about ginger bugs came at the perfect time. I made two ginger bugs to experiment with organic brown sugar. Brown sugar worked but I don’t think it was as effective with fermentation as cane sugar.
What is a “ginger bug”?
Simply put, a ginger bug is a lactobacillus yeast culture that exists on the skins of the ginger. You use fresh organic ginger, water, and sugar to create the ginger bug and continue to add sugar and ginger to it on a weekly basis to keep it alive and add water when the liquid gets low. This ginger bug is then combined with other ingredients to make natural probiotic sodas through the process of fermentation. Such as but not limited to: ginger ale, fruit sodas, etc. Since I love ginger ale and ginger beer, I decided to start with that.
Ginger Bug Recipe
1/4c organic ginger, chopped or shredded in a food processor
1/4c organic cane sugar
2 cups filtered water
Sterilized jar with lid
Spoon for mixing
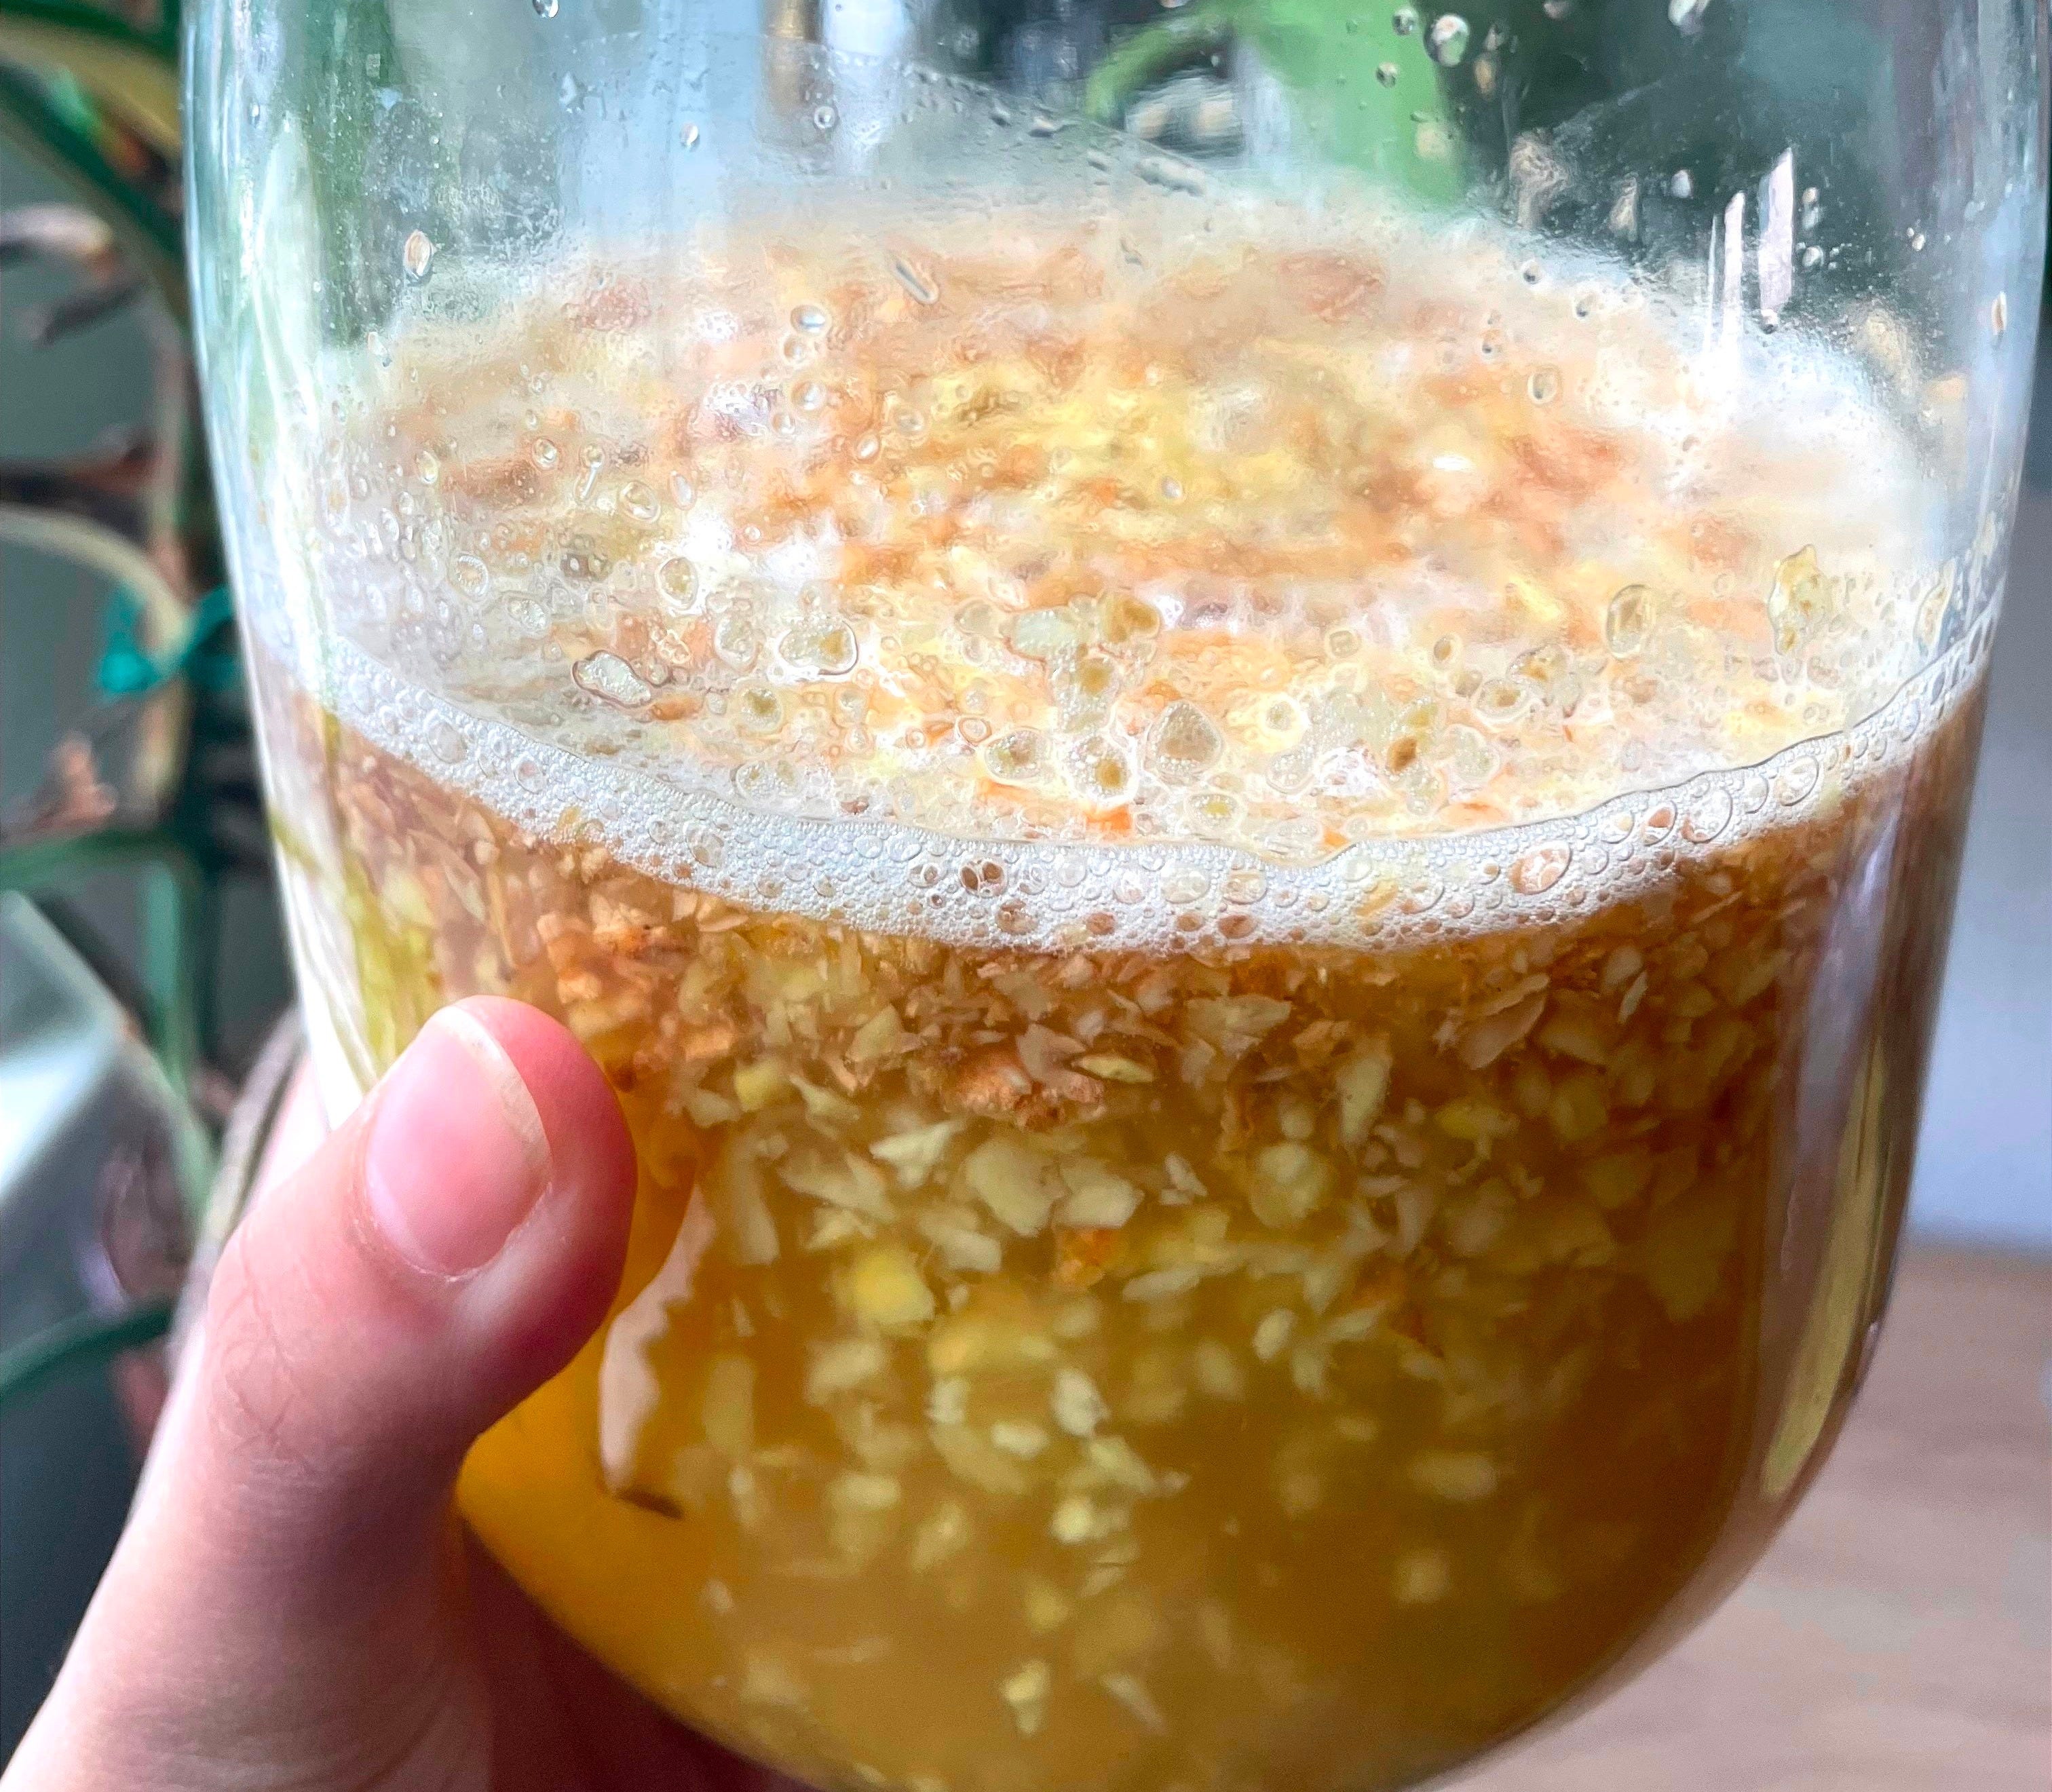
The recipe is simple enough, just wash the ginger lightly, chop it up, add it to the jar. Add the water, then sugar, and mix! You’ll let it sit on the counter in a warm spot. I personally used a flip top sealing jar but removed the rubber so that pressure can’t build up inside the jar. This way it was still covered since I live in a place where humidity can get very high. Mold or yeast can easily get into your bug if you live in a moist climate. If you live in a colder climate, I would still do the same just in case.
Day 1: Let it sit and ferment, you might start to notice the ginger starting to float. This is a good sign! You should also start to see bubbles too.
Day 2: Add 1 tablespoon of chopped ginger and 1 tablespoon of cane sugar and mix again. Allow to ferment in that dark warm spot and cover.
Day 3: Add 1 tablespoon of ginger and sugar again. You might see more fizzing or even see more bubbles, keep going.
Day 4: It will look like it’s losing its fizz and this is normal, the ginger might be floating less and that’s okay too. As long as the ginger bug doesn’t have yeast or isn’t smelling rancid or looking funky - it should still be good. A healthy ginger bug smells gingery, a little soapy, and take on a little of the ginger color. If you see kahm yeast start to grow I would personally start over even though the internet may suggest otherwise. Keeping the culture clear of any other type of yeast helps with making your future ferments successful.
Day 5: Let it sit a day to ferment without feeding it to mature.
Day 6: Time to use it in a recipe.
Maintenance: Feed it once a week, store in the fridge. You could skip a couple feedings and it will probably be okay. However, the longer you leave it unfed the more acidic it will get along with less activity or effectiveness. This ginger bug can live forever as long as you continue feeding it. Occasionally, I’ll scoop half of the ginger in it, compost that, and add a fresh big batch with a tablespoon of sugar. Alternatively you could dehydrate that ginger you scoop out and have fermented ginger powder.

Ginger Ale Recipe
Here’s what you’ll need:
2-3 thumbs of organic ginger, sliced
2.5 quarts of filtered water
1.5 cups organic cane sugar
a large stock pot to put it all in
1/2 cup of ginger bug
Lemon juice from 3 freshly squeezed lemons (preferably organic but use what you have)
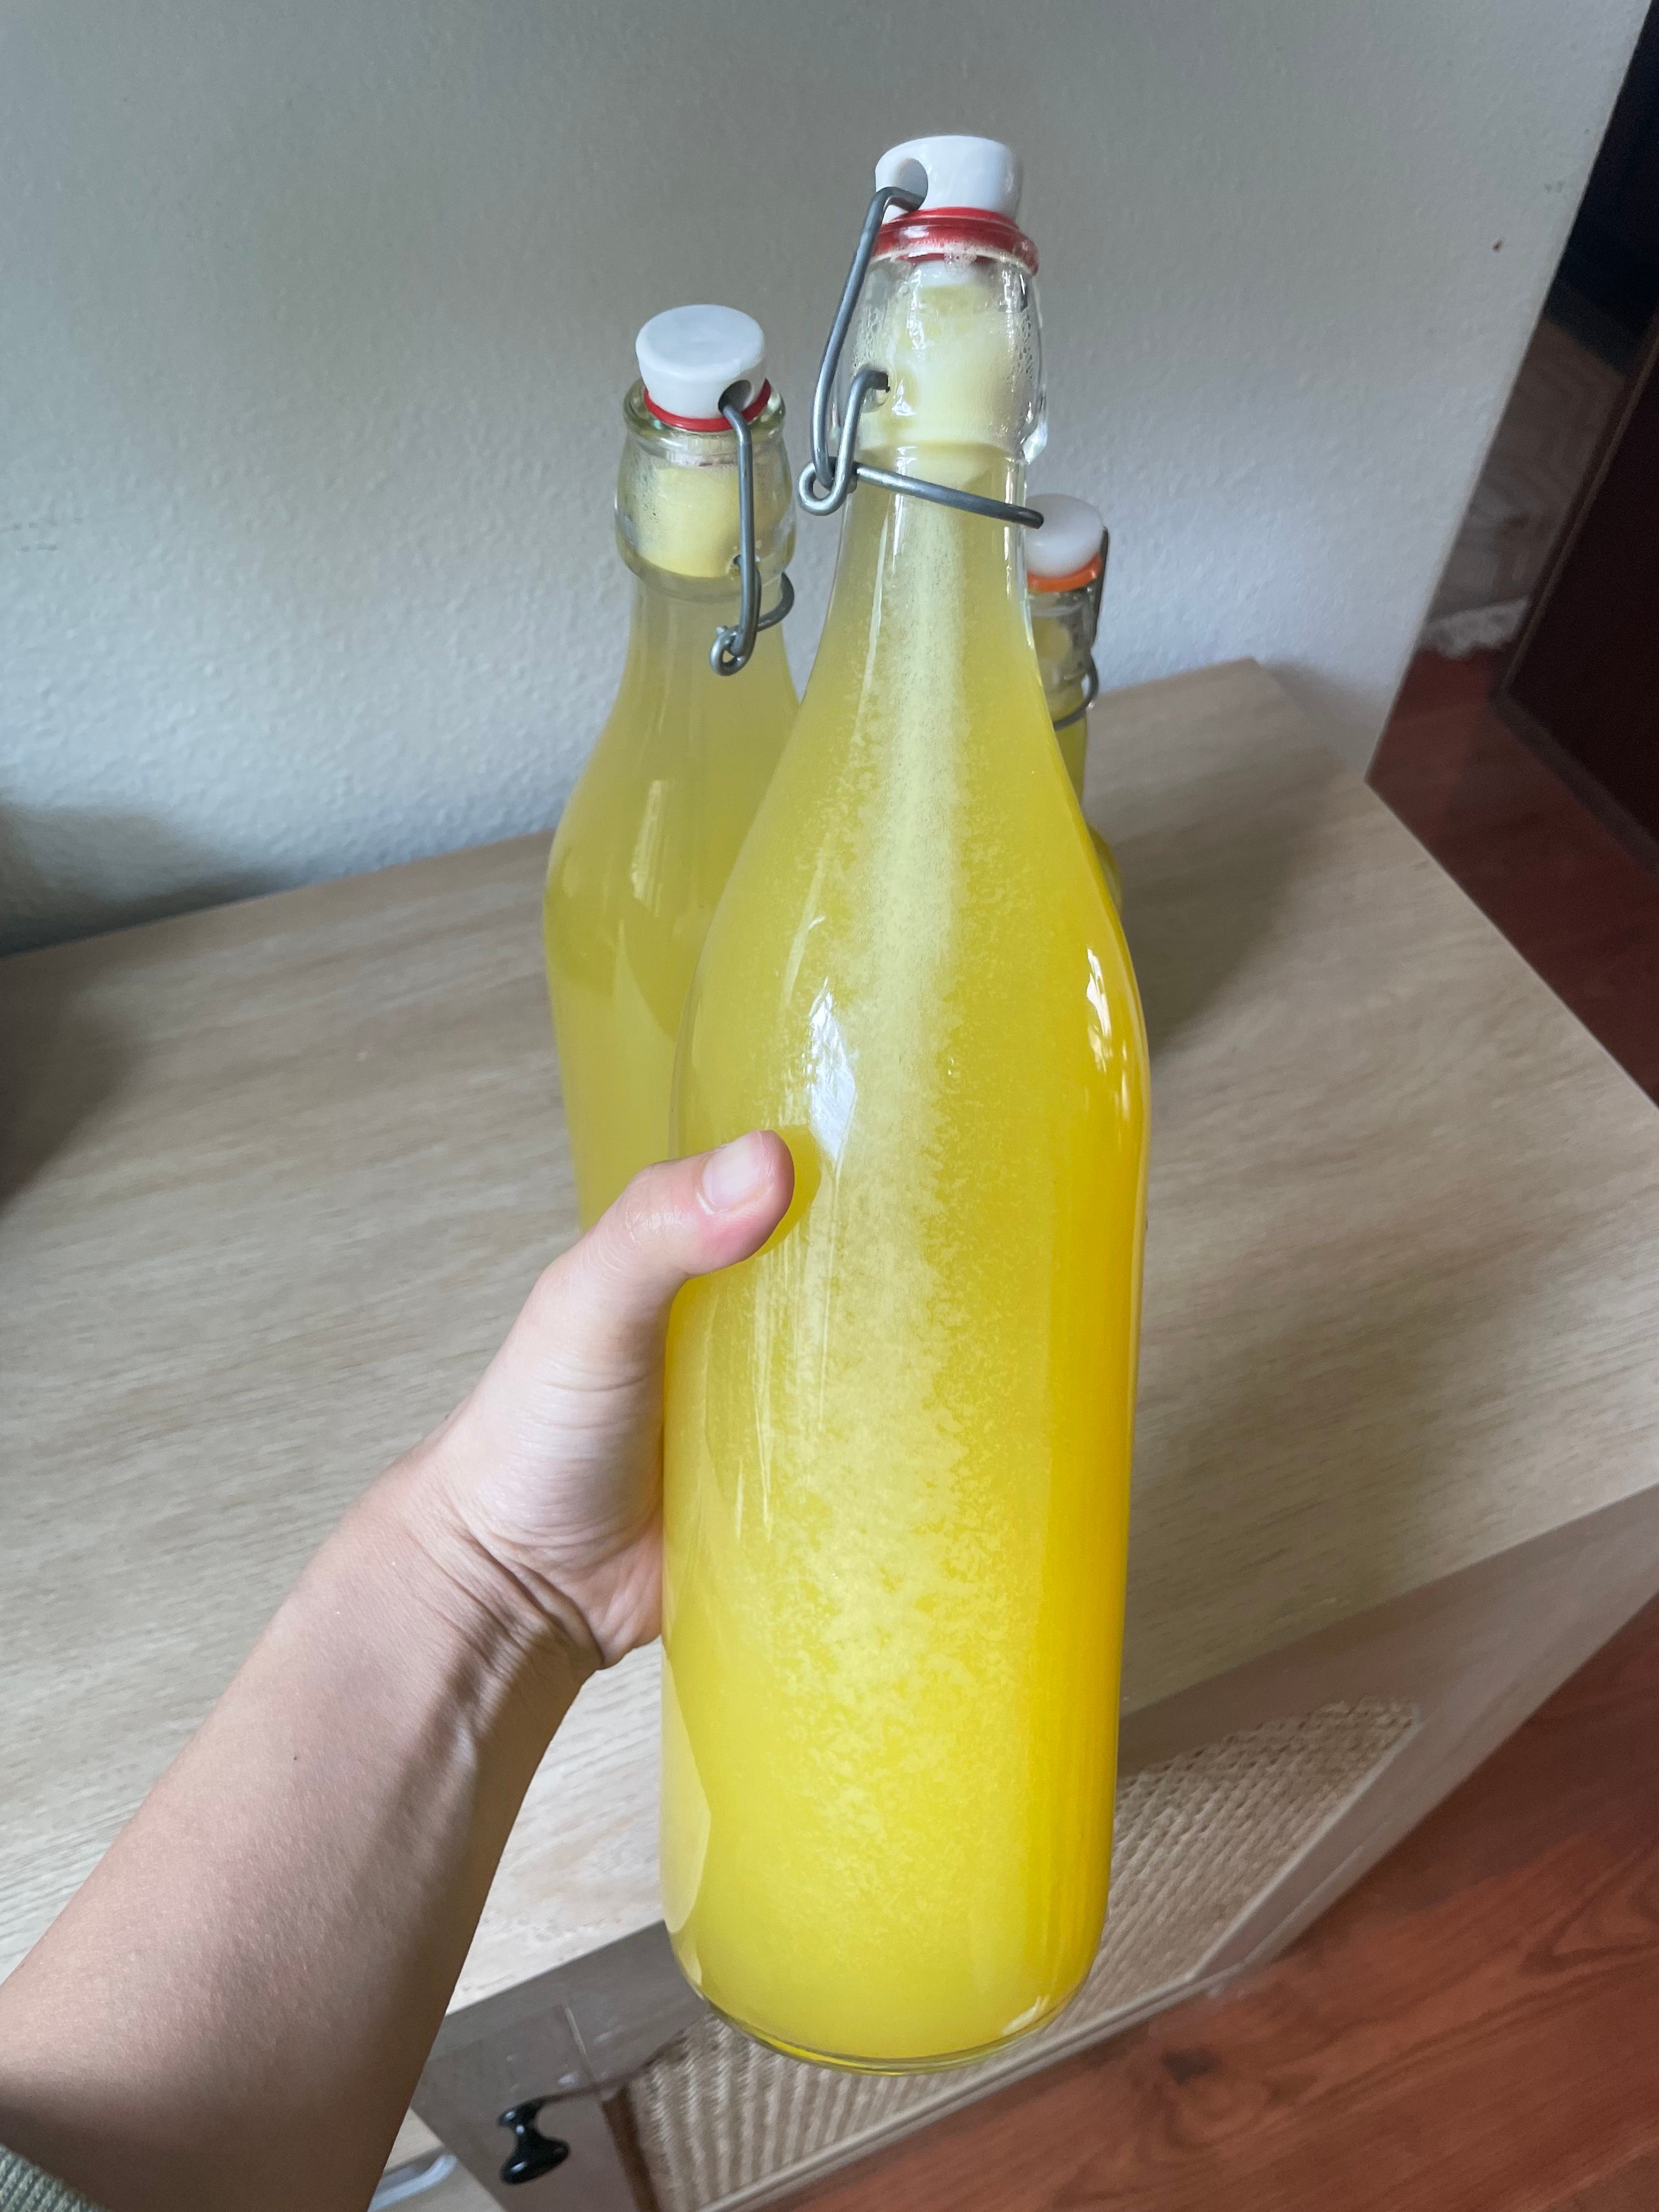
3 flip top bottles that are 16 oz or more
Funnel for filling the bottles
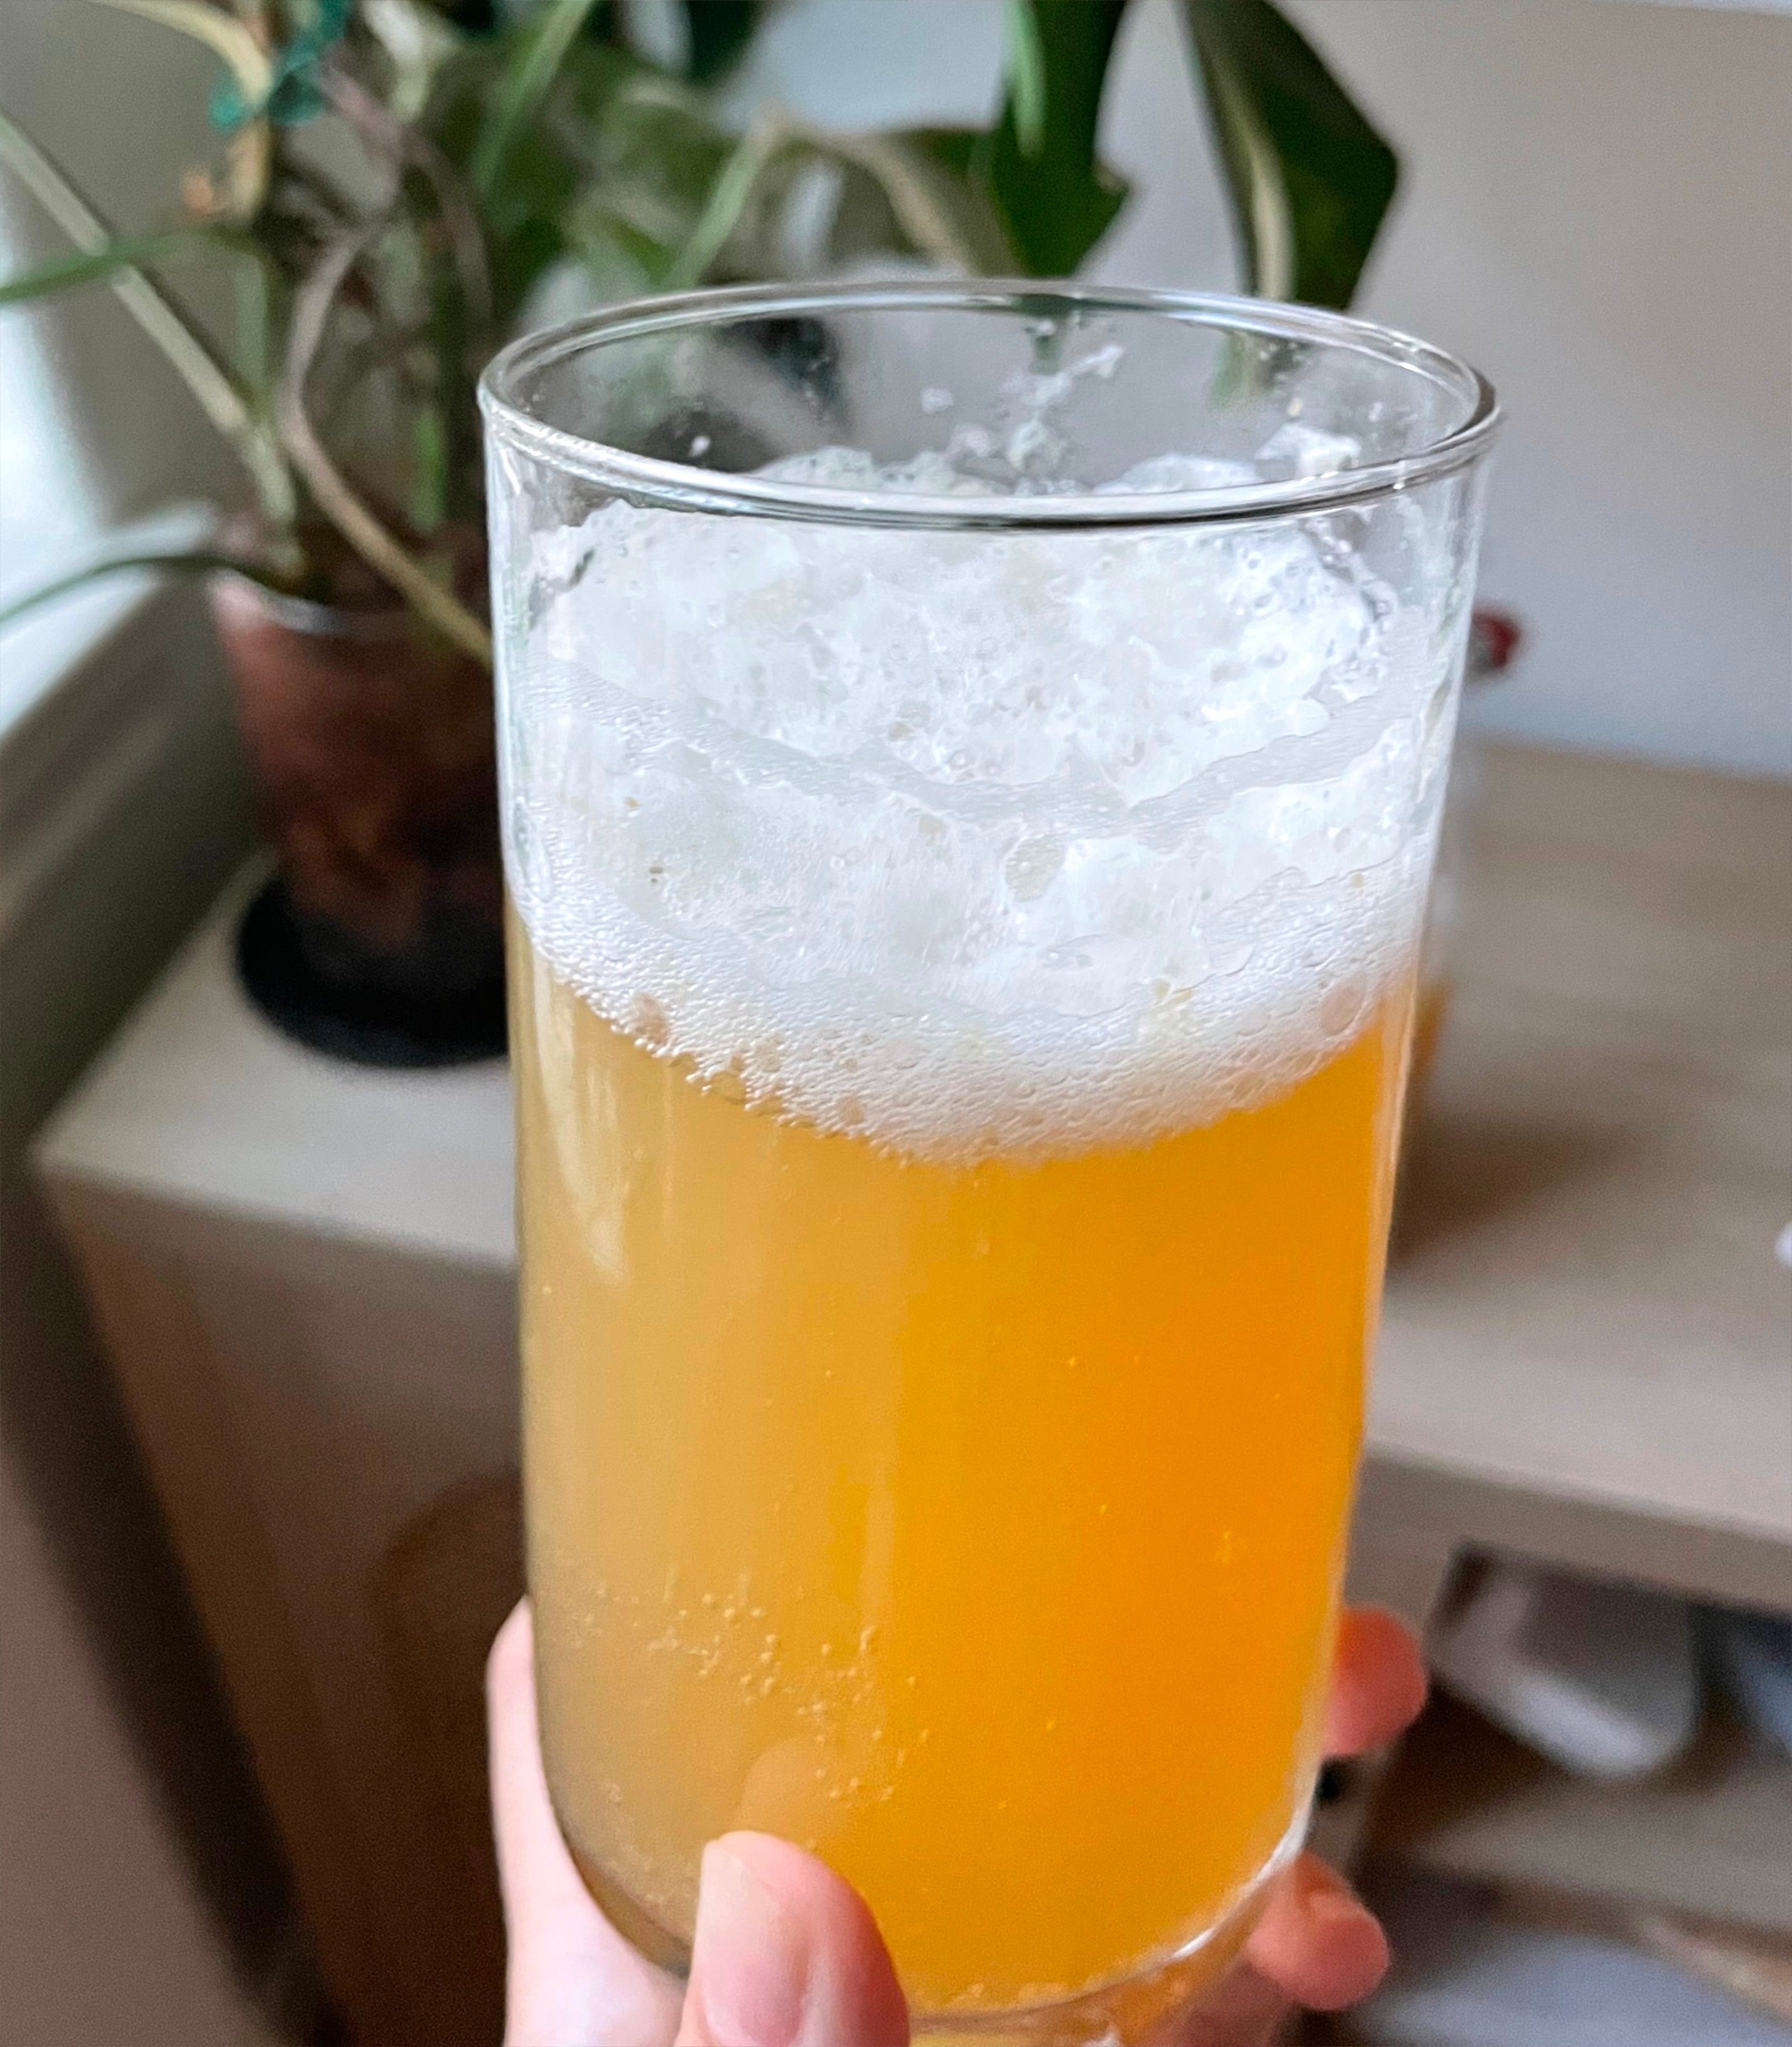
The link is really just to show you what they look like, you can get them wherever you choose.Directions: In the pot, add water, sugar, and sliced ginger and set it to boil to dissolve all the sugar. Once boiling, set a 3 minute timer to let it boil. Turn it off when the timer goes off and allow to cool on the stove until it’s warm. This will let the ginger steep. You don’t want too much ginger in this brew as it will make your final ferment very gingery and very spicy (that was my first batch). Once the mixture has cooled down, you’ll strain the mixture of the ginger into a large bowl, here you’ll add the lemon juice and the ginger bug and mix.

Very gingery and spicy almost peppery first batch.
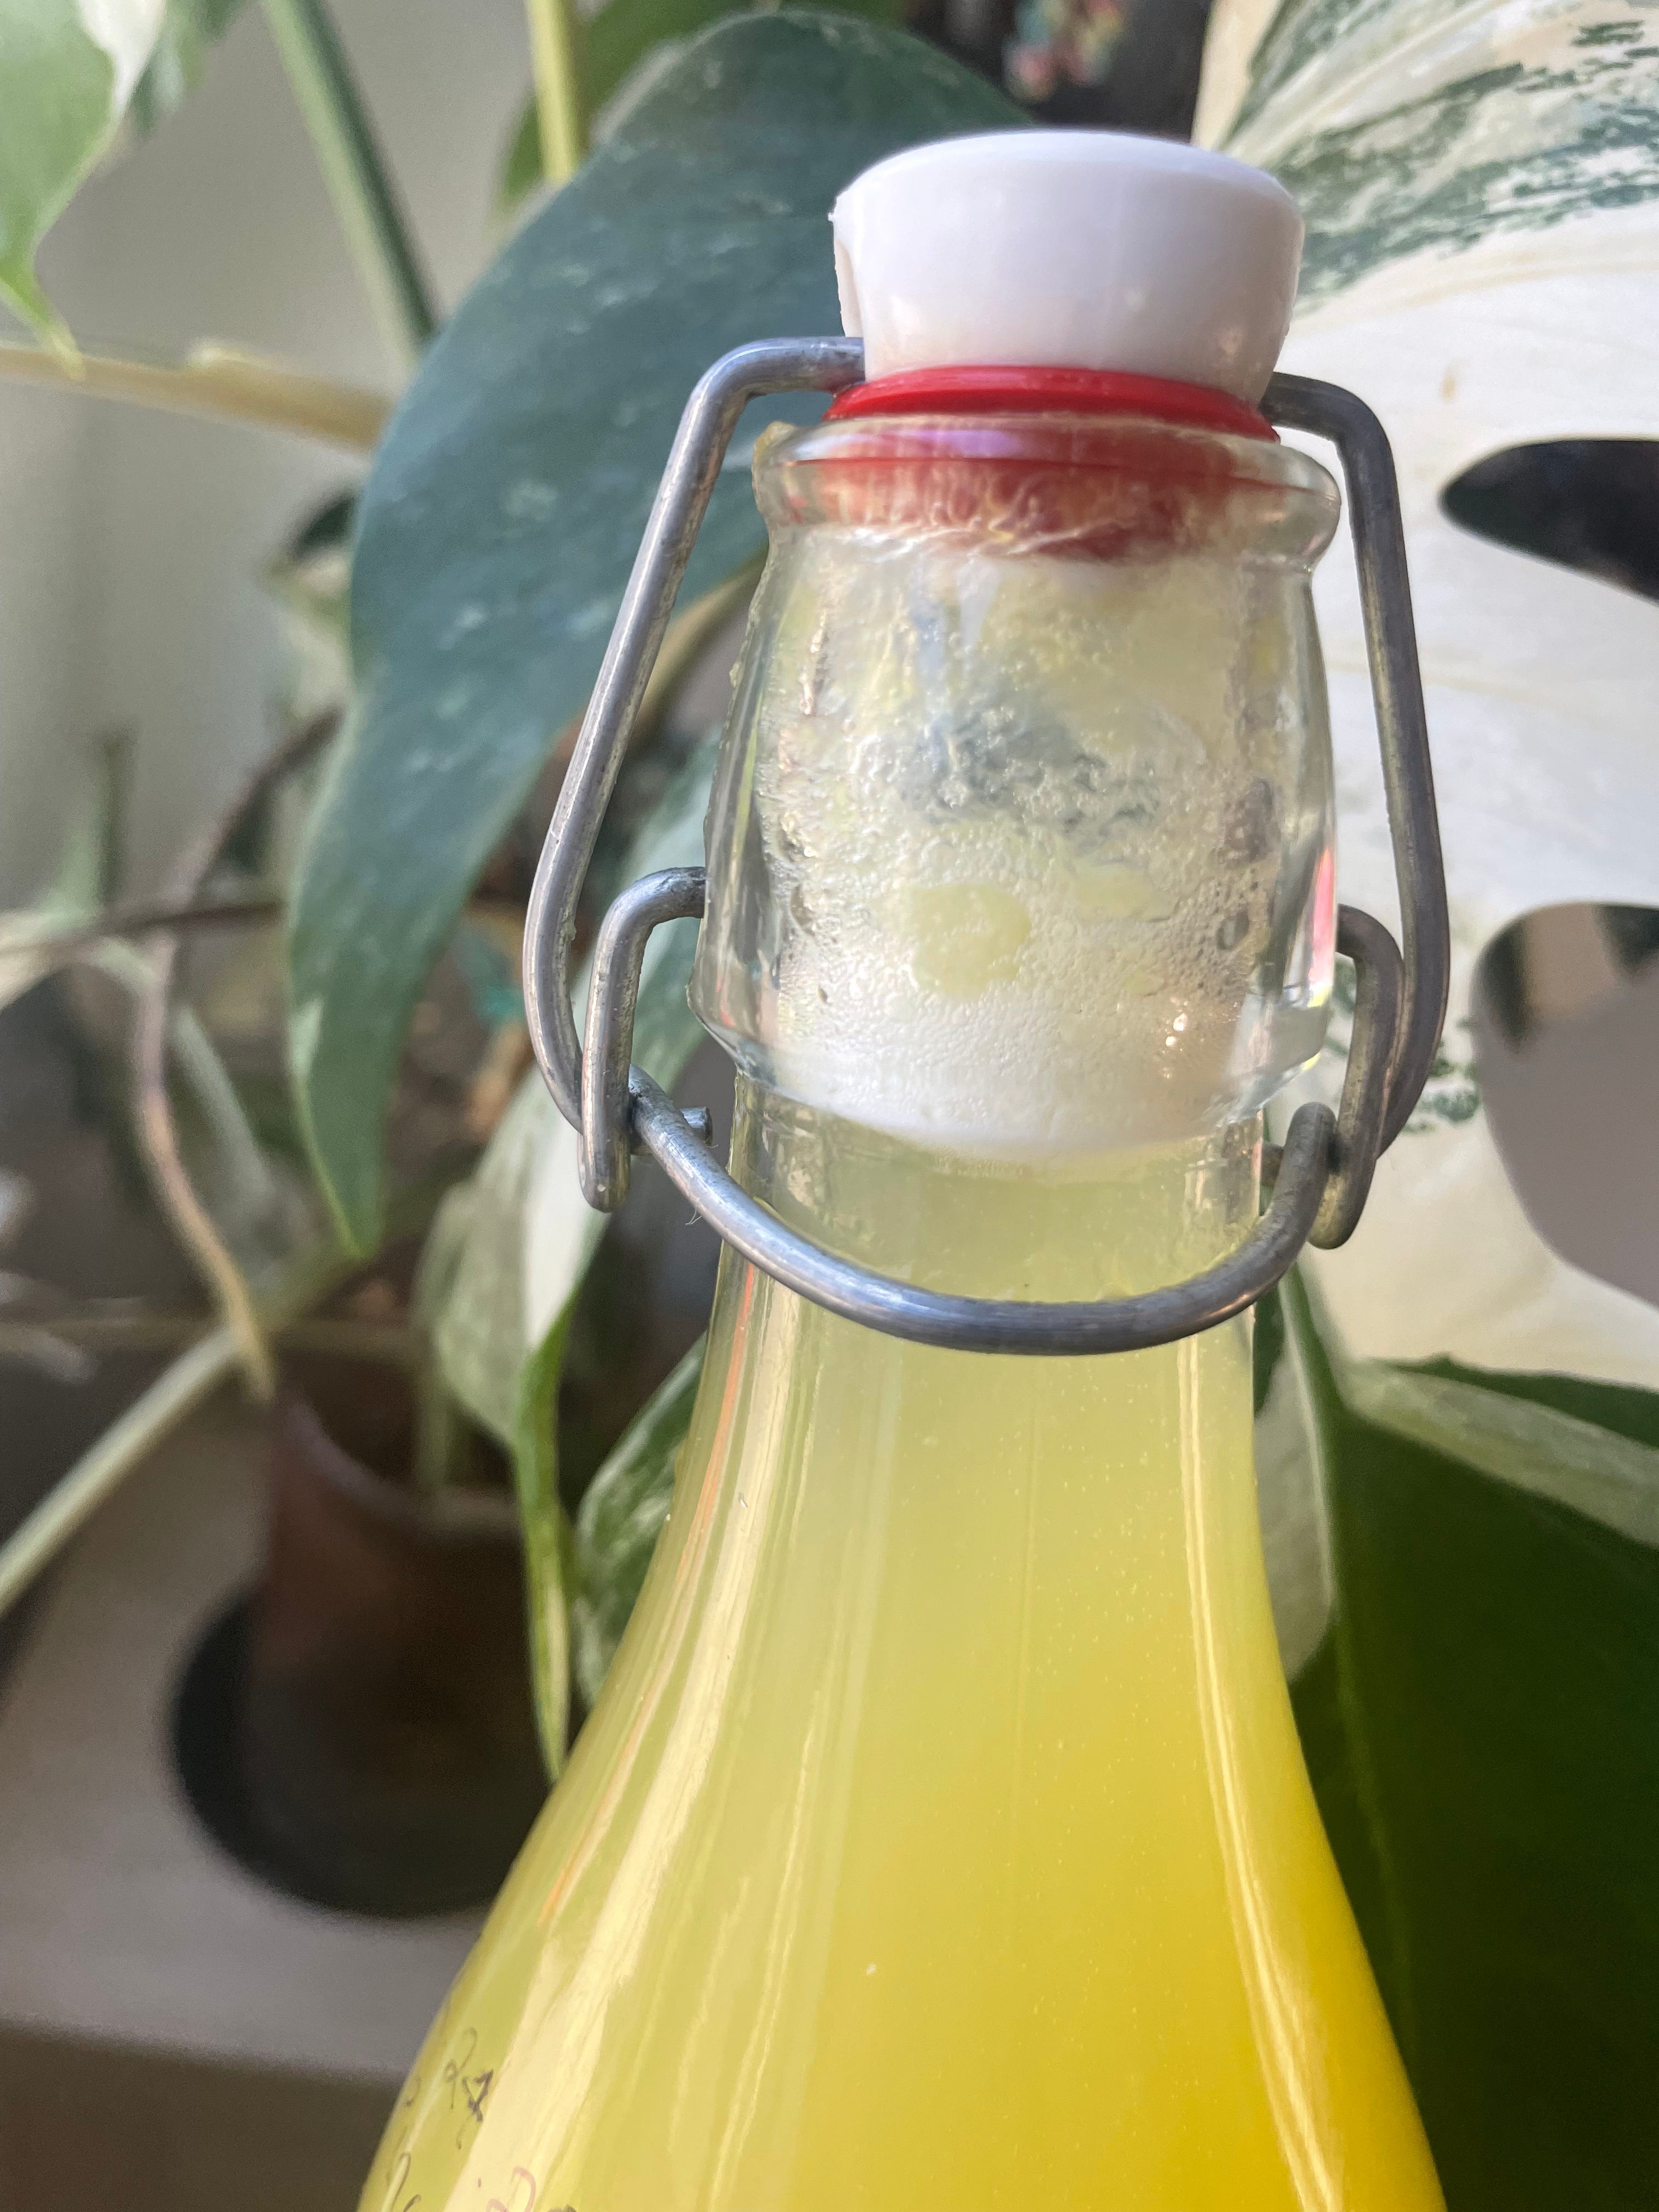
Use the funnel in the bottle to fill the bottles up and seal. You’ll allow the bottles to ferment in a dark warm spot in the kitchen. Don’t burp the bottles to let the fizz build unless it’s looking very pressurized and the liquid rises to the top of the bottle from carbonation—then absolutely burp it. You’ll should start to see fizzing on day 2-3. I put the bottles in the fridge on day 2-3 to slow down fermentation. You can open and taste one of the bottles if desired by day 4 or 5. I found that the drink was perfect in taste/sweetness for me by day 6, 7, and beyond. It starts to get more tart the longer it sits in the fridge but it was delicious to me up to 10-14 days in the fridge. Note that the longer you ferment the higher the alcohol content gets. It’s not a lot of alcohol but essentially if you ferment it for longer than a few months it becomes sort of like champagne. This is where you can experiment with your preferences on fermentation time.
The potential benefits of a ginger bug
Here’s a study I found to back up these benefits.
A natural prebiotic which contains beneficial bacteria such as lactobacillus and yeast that can inhibit the growth of harmful ones.
Aides in digestion with the production enzymes that break down food, reducing bloat, and improving overall gut health.
Ginger and the probiotics that are created through fermentation have natural anti-inflammatory and antioxidant properties.
Immunity boost through ginger and antioxidants.
Fermentation makes nutrients in the ingredients we ferment more bioavailable which means our body uses less energy to process them.
There is a good amount of sugar in the fermentation process for the ginger ale due to the ginger not having enough sugar to get that ginger bug to ferment. You could choose to use only pure fruit juices to your brews, this would eliminate the need for a ginger syrup. For example: I made a pineapple ginger soda recently purely with organic pineapple juice. You absolutely should burp the bottles if you’re using a high sugar fruit such as pineapple as they will build up carbonation very fast! These were fizzing and going crazy by beginning of day 2 in 74-76F. I had to burp them multiple times. The higher the sugar content, the happier the ginger bug.
I ended up putting them in the fridge at 1.5 days just to stop them from blowing out of the bottle. Once you see lots of pressure and fizzy-ness being built up at the top like this, you know that the fermentation process is working! You should know that to get a good amount of fermentation to your fruit or vegetable juices, you should include fruits or vegetables that have a high sugar content to get a good ferment. Otherwise you must supplement by creating a syrup base like I did for the ginger ale. I’ll update you all when I play with other fruits and vegetables, I think I have a pretty good idea of what would work well from my kombucha brewing days.
I fermented this batch in the fridge for about 5 days before trying it & was so excited to try it. Patience is always the name of the game when it comes to fermentation. Since pineapple is a high sugar content fruit, I felt it definitely needed at least 4 days to ferment well based on past brews. It was sweet, refreshing, gingery, and the perfect amount of fizz. I don’t think I can ever go back to store bought ginger ale or prebiotic sodas. Sorry Olipop, you had a good chokehold on me for a while and now I’m free. If you try it let me know or ask me questions by leaving me a comment below.
Happy brewing friends!
- Ash